
Table of contents
Calibrate where the droplets of each spray module land, so it sprays exactly where it should. Lay out leaves as targets, drive over them, and move each module's hitpoint until the droplets hit them.
When to Calibrate
Every new AX-1 is calibrated at the factory. When you receive one, you may still want to check that each spray module hits correctly, by driving over leaves as described below.
Calibrate the spray modules when:
- A spray module has been replaced, or moved to another place on the boom or to another robot. A moved module is marked as needing calibration by itself.
- The app asks you to calibrate a spray module.
- The speed or height sensors have been recalibrated.
- A spray module hits the wrong spot.
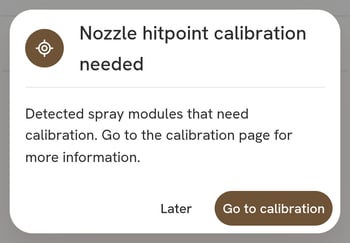
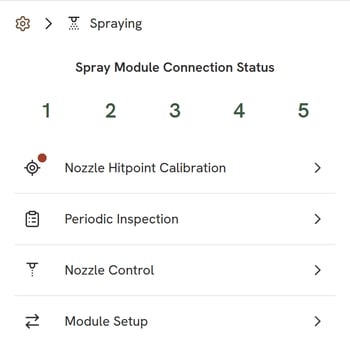
When a spray module needs calibrating, the app reminds you, and the module is marked with a red dot under Settings › Spraying.
Prepare the Ground
- Find a flat, dry and even surface, with no wind.
- Make sure there are at least 4 m of free space in front of the robot.
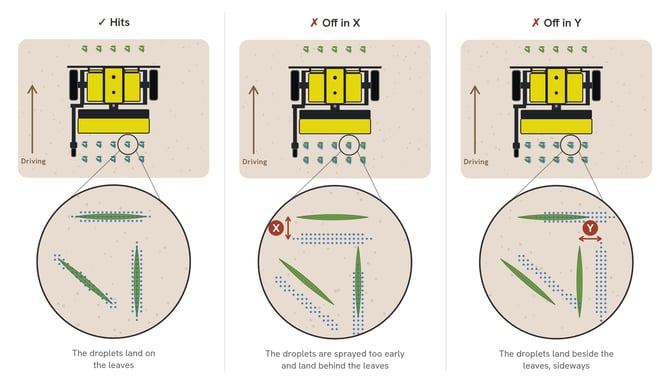
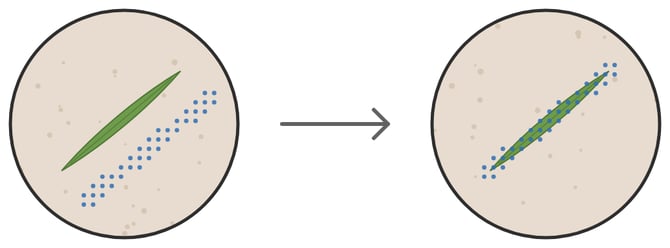
- Lay out green, elongated leaves under every spray module: some across, some along the driving direction and some diagonally, as in the images below.
Prepare the Robot
Open Settings in the side menu, then Spraying › Nozzle Hitpoint Calibration.
Calibrate
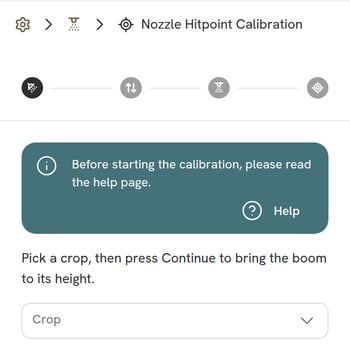
The calibration has four steps: Crop, Boom Height, Clean Nozzles and Hitpoint.
1. Crop
Help in the blue banner opens this page. Select the crop. Unless you are calibrating in a field with an actual crop, select Fejka. Then press Continue.
2. Boom Height
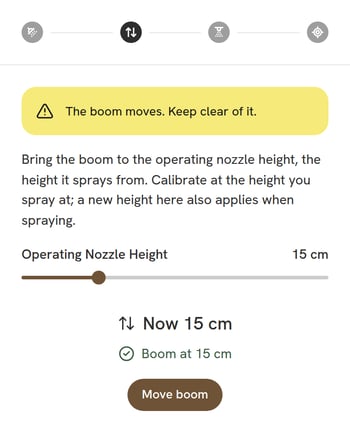
Calibrate at the height the robot sprays from. Set the Operating Nozzle Height, 15 cm unless you spray at another height, and press Move boom. The boom controller brings the boom there and is turned off again once the boom has reached the height, with Boom at 15 cm beside the height it measures. Stop stops the boom on the way. The height you set here is also the operating nozzle height for spraying.
Caution: The boom moves. Keep clear of it.
If the boom does not get there within 30 s, or the boom controller turns itself off, the step says so. Check the alerts and the boom's height sensors, then try again.
3. Clean Nozzles
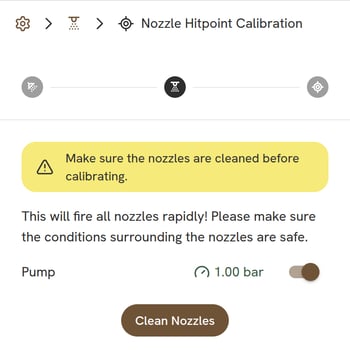
Unless the robot has been spraying within the last hour, clean the nozzles first: turn on the Pump, check that the pressure is right and press Clean Nozzles. Then press Continue.
Caution: Cleaning fires all nozzles rapidly. Make sure it is safe around the spray modules.
4. Hitpoint
In this step, you drive over the leaves and adjust each spray module until its droplets hit them. When you enter the step, the app turns on Pump, Capture Images and Spraying for you, so the spray modules start spraying at any plants they see. If one of them does not come on, a red message appears.
Calibrate the modules as follows:
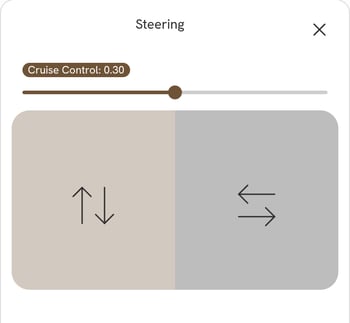
- Drive the robot forward over the leaves, as close to 0.3 m/s as you can. Drive by hand, or set the Cruise Control to 0.30 in Steering, the first button in the bottom bar.
- Look at where each module's droplets landed. If they missed the leaves, as in the images under Prepare the Ground, that module needs calibrating.
- Select the module under Spray Module. The first one is selected when you open the step.
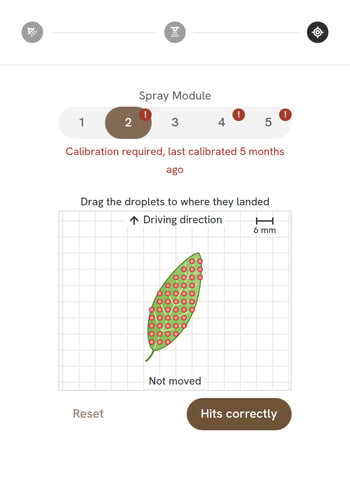
- Stand behind the robot, facing the way it drove. In the picture, drag the droplets to where they landed on the leaf, as you see it from there. The picture shows the robot driving upwards. Each square of the grid is 6 mm, as the scale in the top right corner shows.
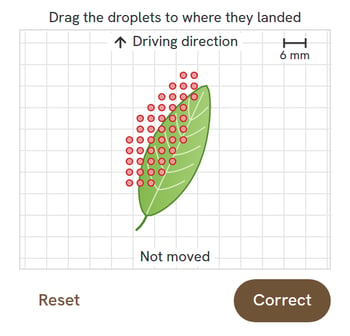
Then press Correct. The module is moved the other way, and the droplets in the picture go back to the middle of the leaf. A faint leaf with its droplets shows where they would land without the module's corrections, and below the picture it says how far the module has been moved in all.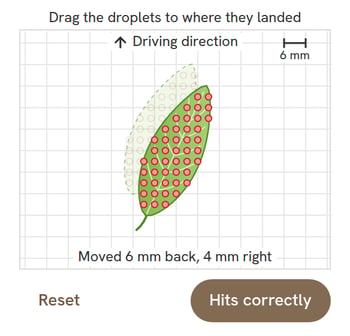
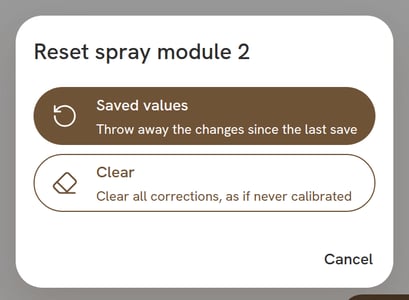
- When the module hits the leaves, press Hits correctly and then Save to save it, before you move on to the next module. Reset offers Saved values, which throws away the changes since the last save, and Clear, which clears all corrections as if the module had never been calibrated. Clear is only kept once you save it.
- Drive over new leaves and check again, until every module hits the center of the leaves.
- Press Done to finish.
Unsaved changes:
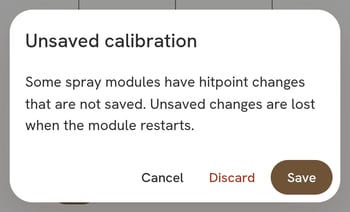
If a module has changes that are not saved when you press Done, the app asks whether to Save or Discard them, or Cancel to stay on the step. This also covers changes made before the app was reloaded. Unsaved changes are lost when the module restarts, so press Hits correctly and Save to keep them.
If a module already hits the leaves correctly, press Hits correctly and Save, so it is marked as calibrated. After you drag the droplets, the button under the picture says Correct until you press it.
Spray Module Status
Under Spray Module, the app says how the selected module stands. A module that needs calibrating also has a red mark on its number, and one that cannot be calibrated now is greyed out.
| Text | Meaning |
|---|---|
| Calibrated 3 months ago | The module is calibrated, on this robot and in this place on the boom. |
| Calibration required, last calibrated … | It was calibrated on another robot, in another place on the boom, or before the robot was updated. |
| Calibration required | It has never been calibrated, or it was calibrated before the app kept the date. |
| Waiting for the spray module… | The app has asked the module, and it has not answered yet. |
| The spray module does not answer | The module is on, but does not answer. The app keeps asking, and it comes back by itself when it answers. |
| Starting up or Inactive | The module has not started yet, or has stopped. |
Hold the mouse over the text to see the exact date and time of the last calibration.
When you leave this step, by going back to an earlier step or leaving the calibration, Capture Images and Spraying are turned off again. Pump stays on.